In Orderhive, managing Purchase Orders can be made very convenient and fast by using certain functions on them in bulk.
In order to perform these bulk actions,
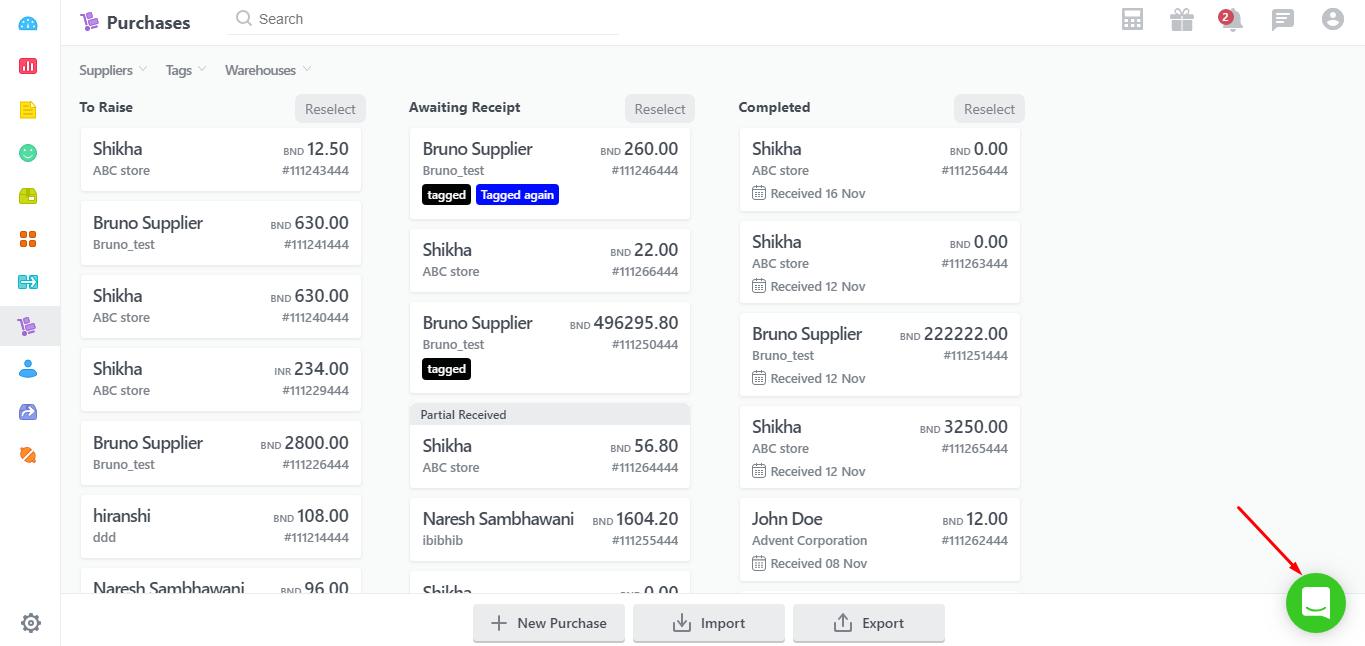
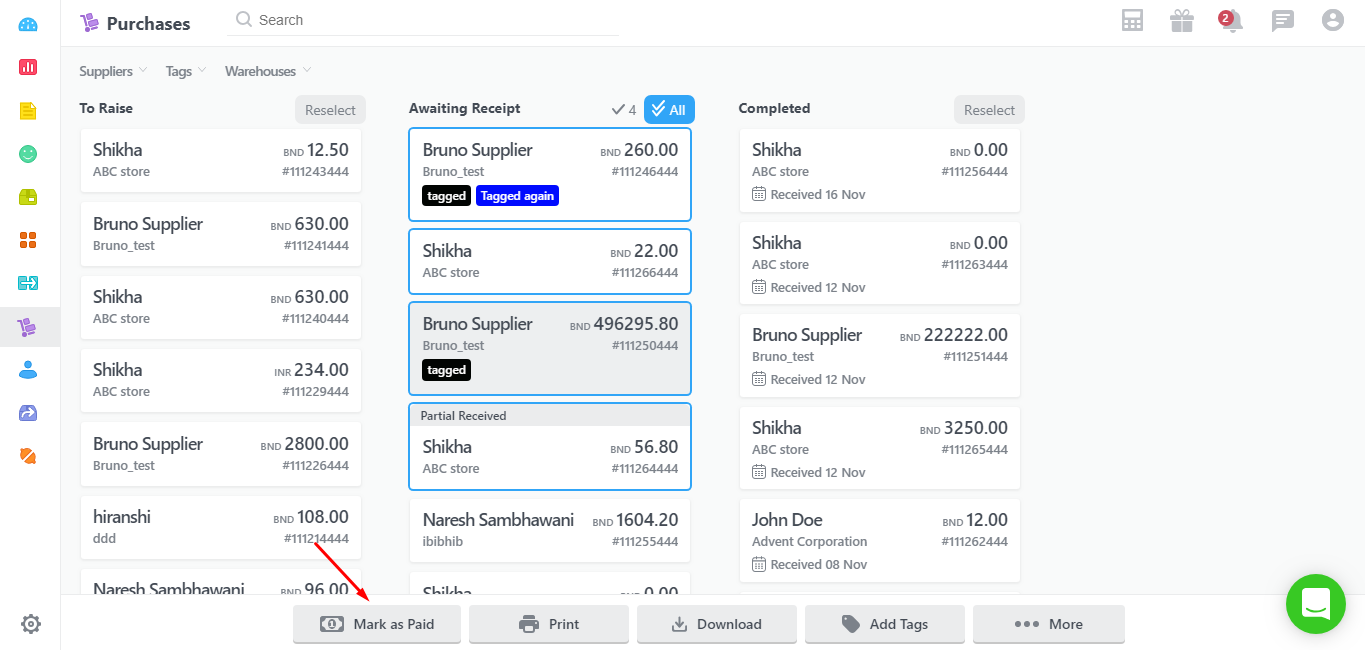
- Go to Purchases
- Select the Purchase orders by clicking on them and then select the options that show at the bottom. Each of the actions are discussed below:
Raise PO:
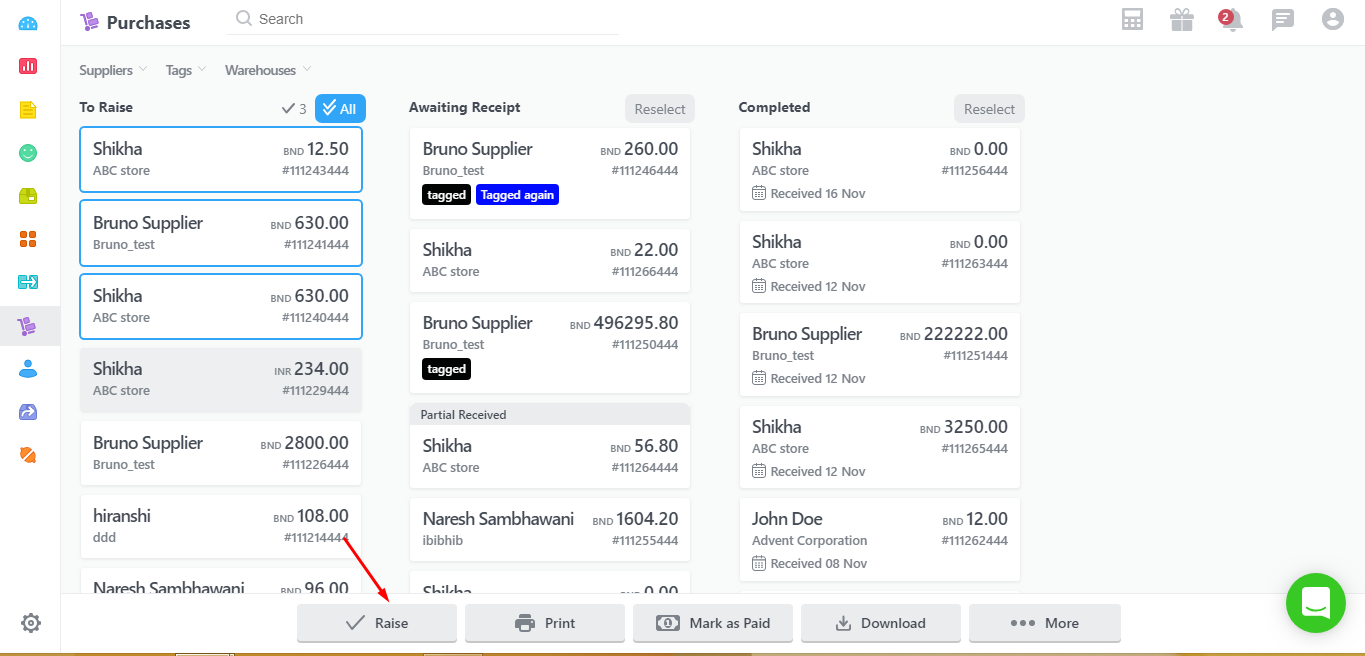
- Purchase orders once created with all the correct details and suppliers will show up in the To Raise section.
- Select the POs from this section and hit the Raise button at the bottom. This will send the POs to the respective suppliers and push the POs in the Awaiting Receipt section.
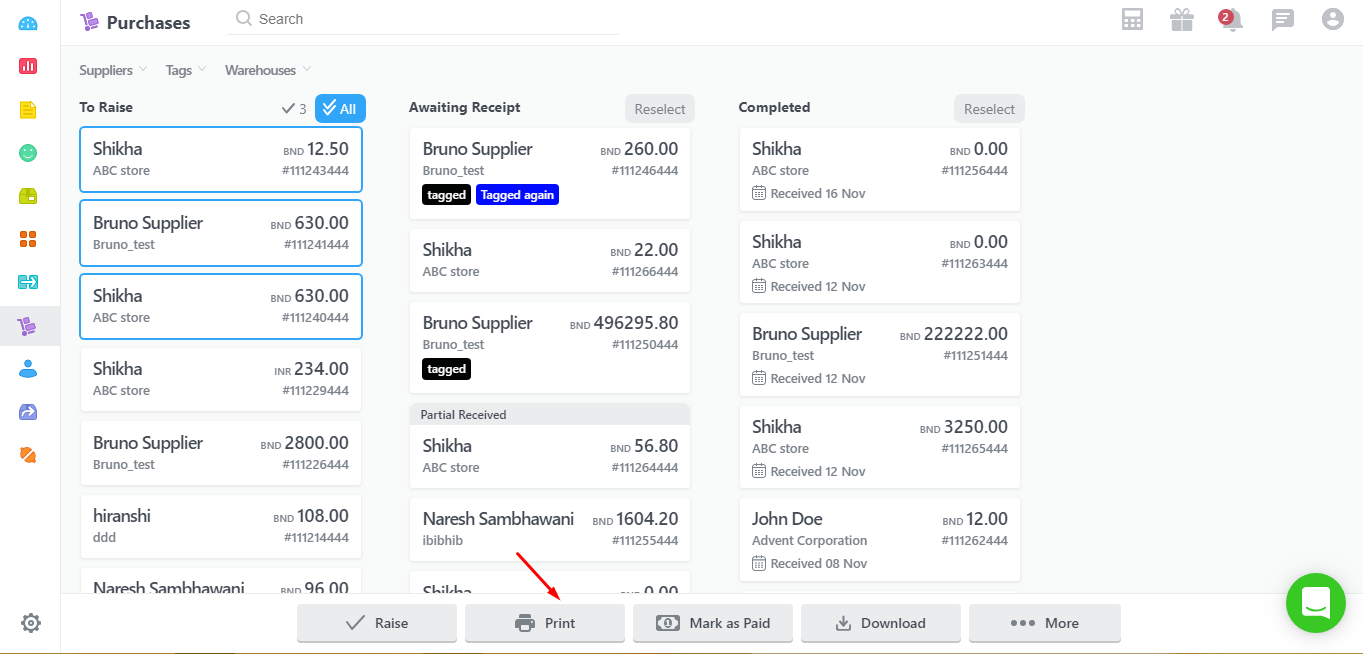
Print PO:
- Any number of Purchase orders can be printed at once by just selecting the POs and clicking the Print button at the bottom.
- The Purchase orders can be printed in all the 3 stages - To Raise, Awaiting Receipt & Completed.
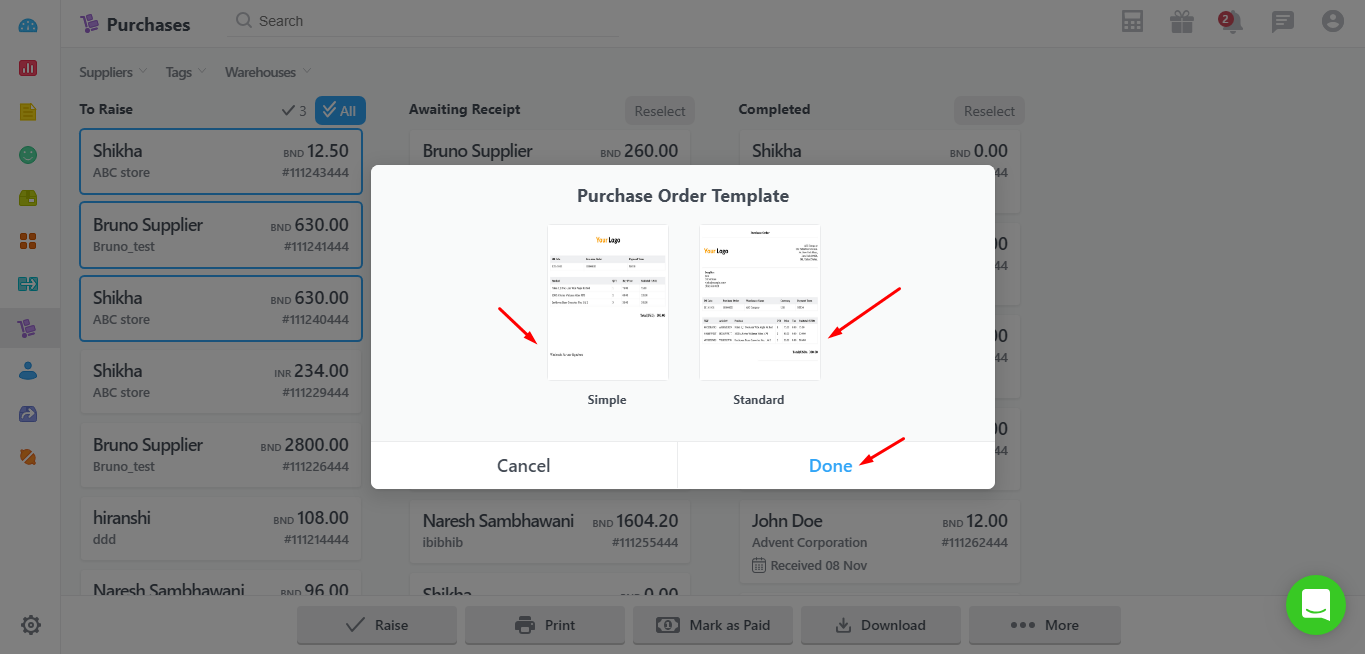
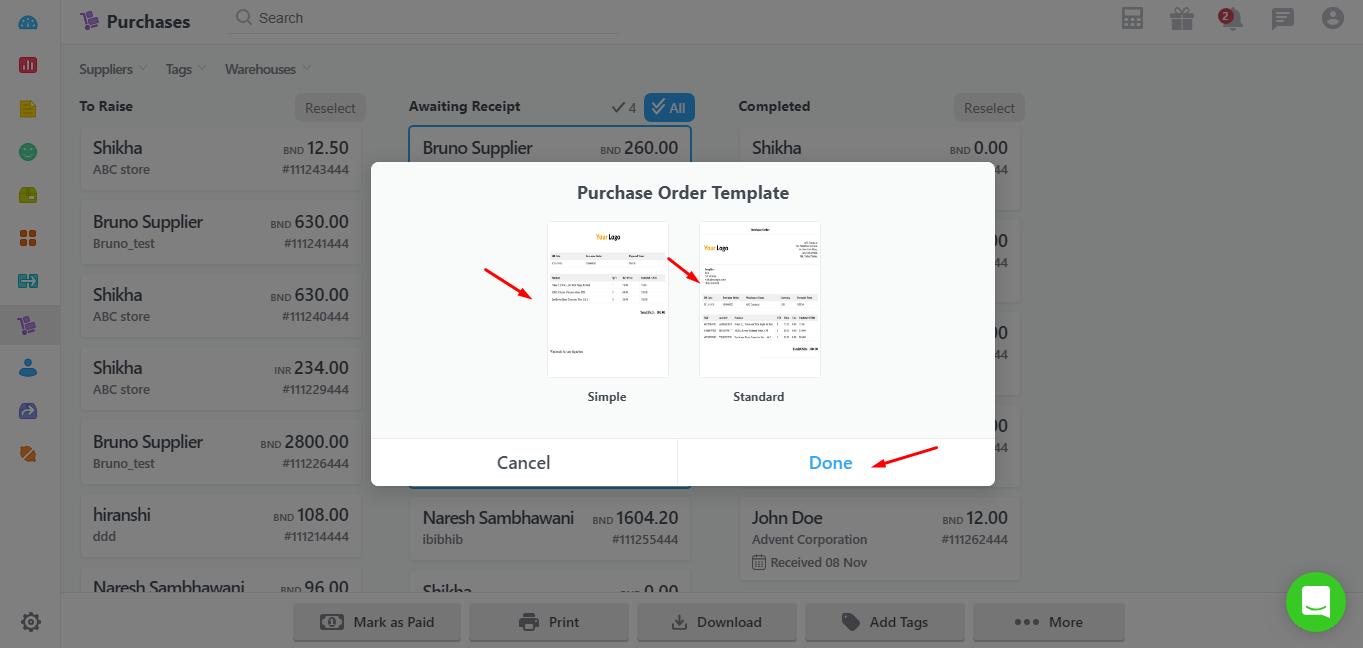
- In case in the Purchases settings, you have kept the option Ask everytime I print or download as ON, then a window will open up to select the format of the PDF to be printed. Select the format and click on Done to print the POs.
- In case you have kept the option Ask everytime I print or download as OFF the default starred template will be used automatically to print the PO.
Orderhive also allows customizing the format of the purchase order according to your business requirements. Here’s how you can customize a packing slip:
- Go to Settings
- Click on Purchases and go to Purchase Order Templates
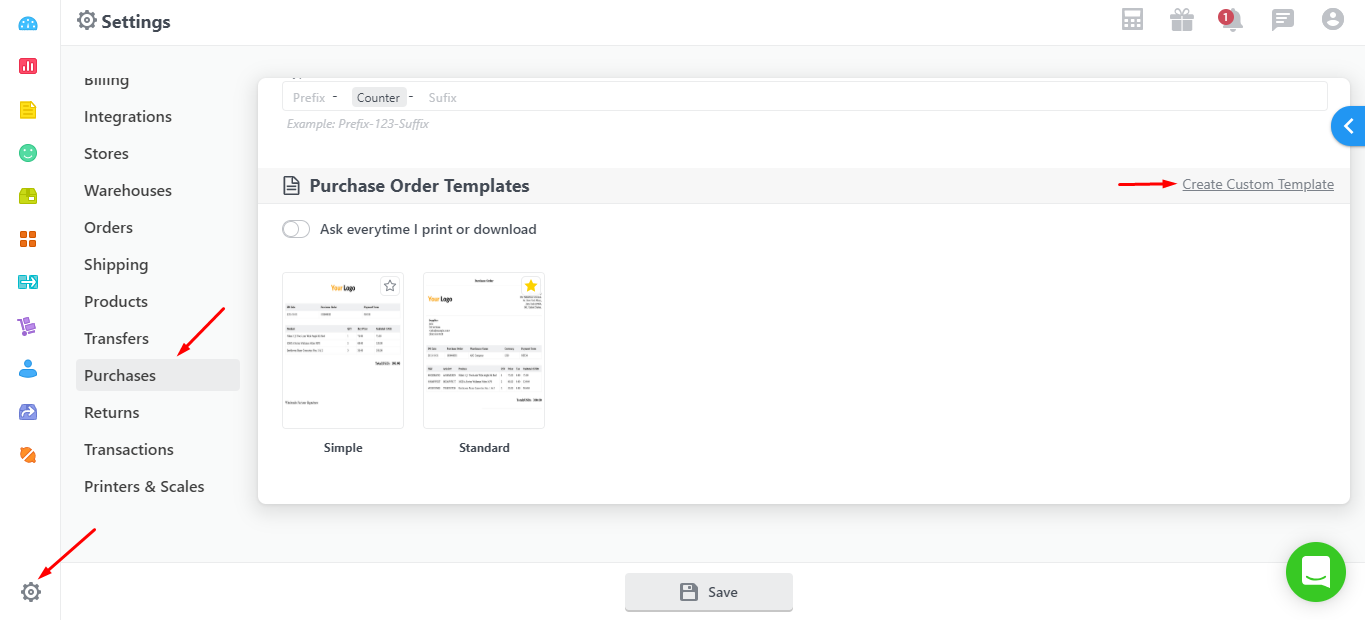
- A list of all the packing slip templates present in the account will be displayed here. By default, there is a Standard Template present in the account.
- You can customize your own packing slip based on your requirements by clicking on Create Custom Template.
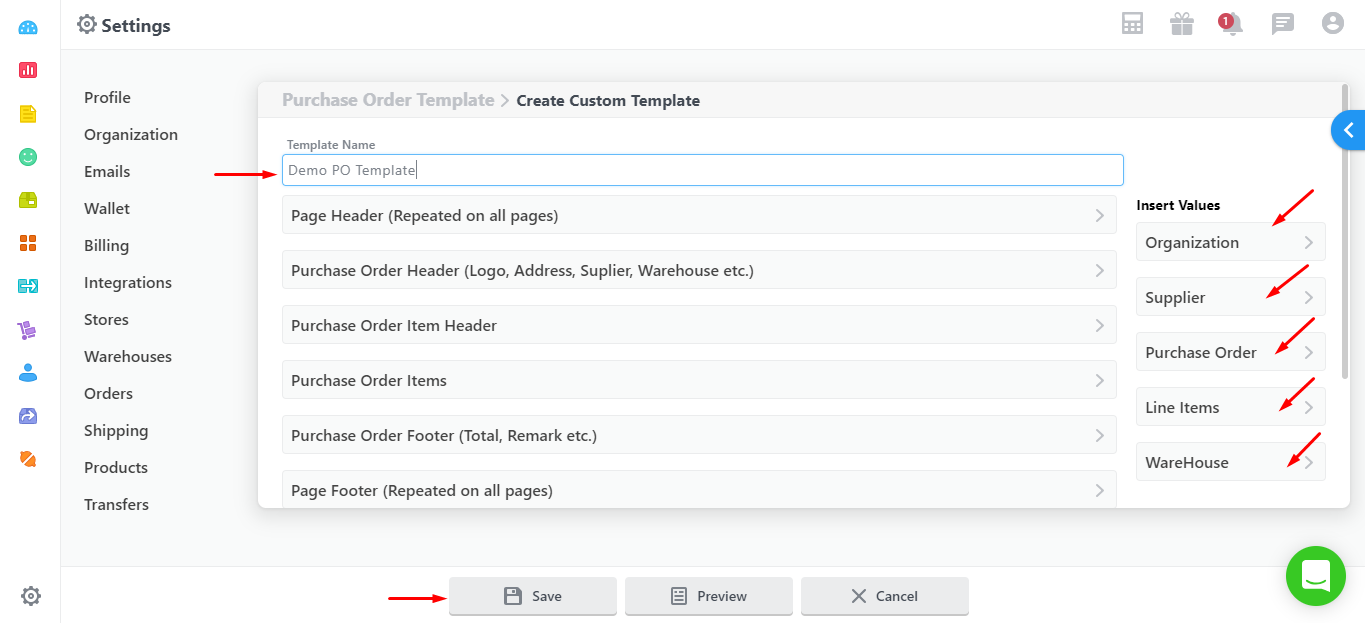
- The custom template is in HTML format in which you can choose the fields that you wish to display on the template.
- Any Name can be given to the template for your reference.
- You can also use the Insert Values fields given on the right, in your template.
- Custom insert values for entities like Organization, Supplier, PO, Line Items and Warehouse are available to be included by just a click on the relevant field at the required place in the template.
- After drafting the custom email template, click on Save.
- You can also Preview the template to see how it will appear when you download the packing slip for any order.
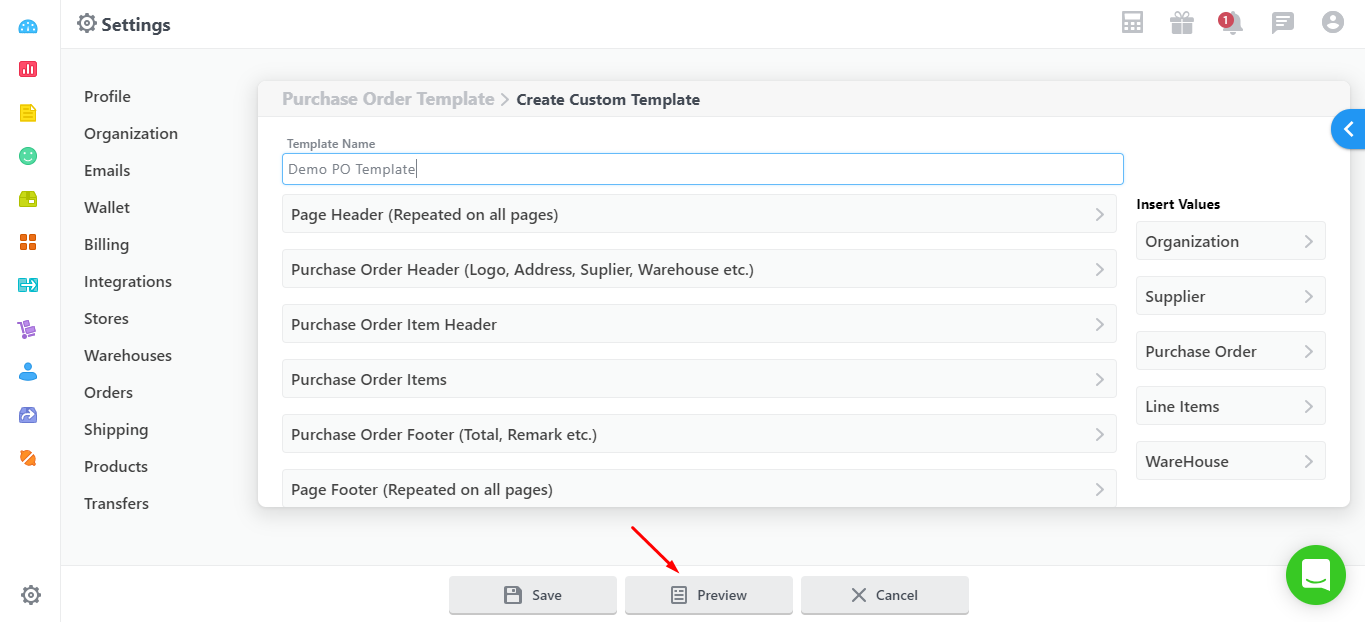
Note: Please make sure to enable the pop-up box if it is blocked.
Mark POs as Paid:
- Select the Purchase orders and click on the button Mark as Paid to mark them all as Paid.
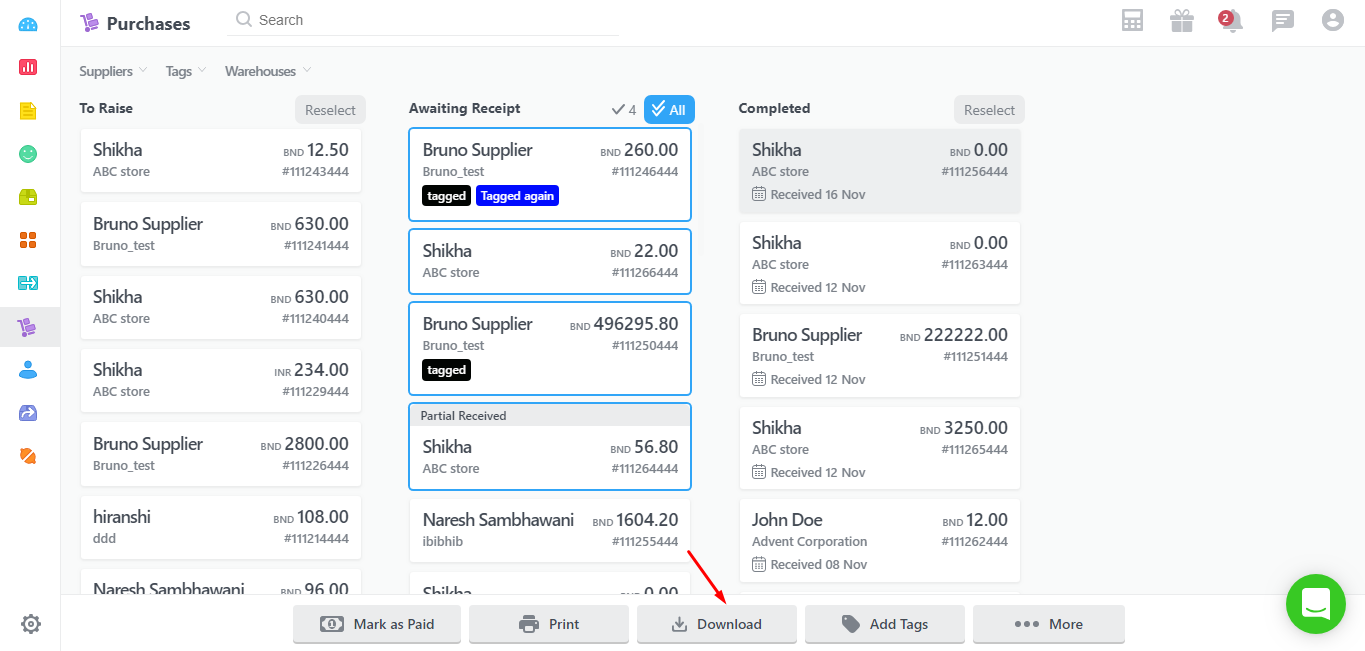
Download PO:
- A PDF file of multiple POs can be generated by selecting the POs and clicking on the Download button. It would ask the format of the PDF to be generated in the next window. Select the format and click on Done to download the PDF.
- In case in the Purchases settings, you have kept the option Ask everytime I print or download as ON, then a window will open up to select the format of the PDF to be printed. Select the format and click on Done to print the POs.
- In case you have kept the option Ask everytime I print or download as OFF the default starred template will be used automatically to print the PO.
- The templates can be customized as discussed above.
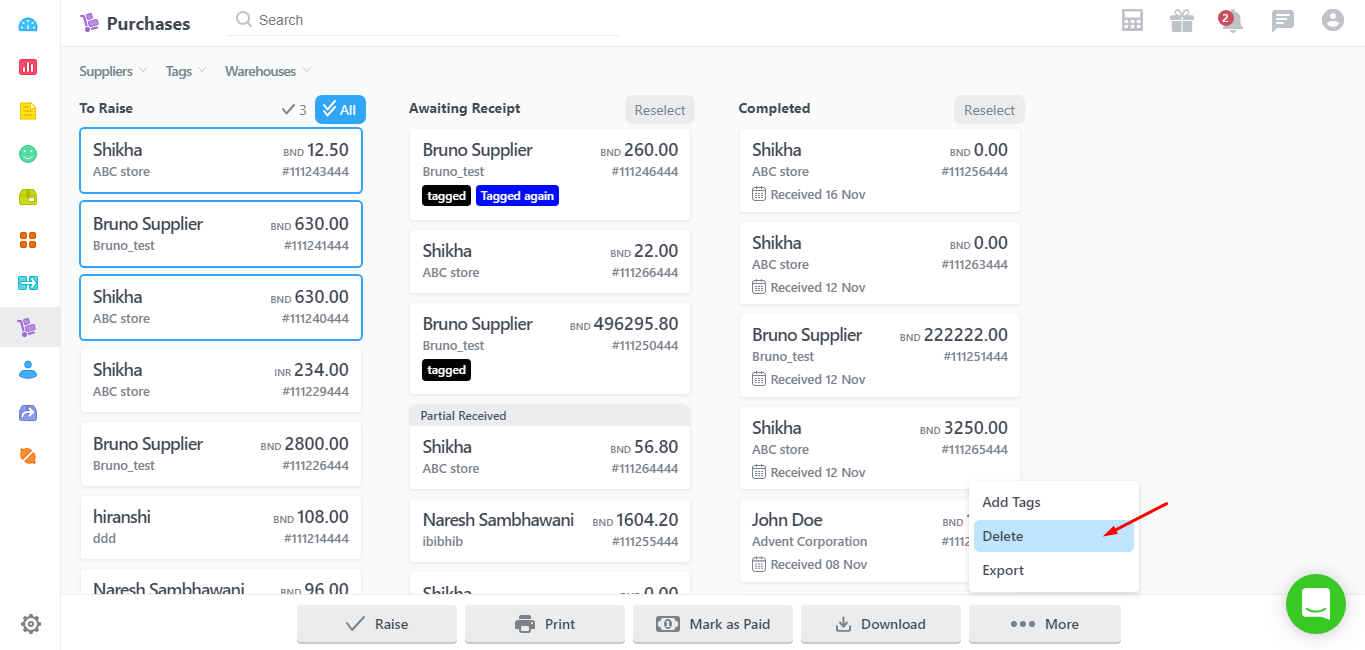
Delete POs:
- At any given stage of the Purchase orders whether it be To Raise, Awaiting Receipt or Completed they can be deleted from the system. Just select the orders and click on More > Delete.
- It will open up a window to confirm this operation before deleting. Click on Yes, Delete.
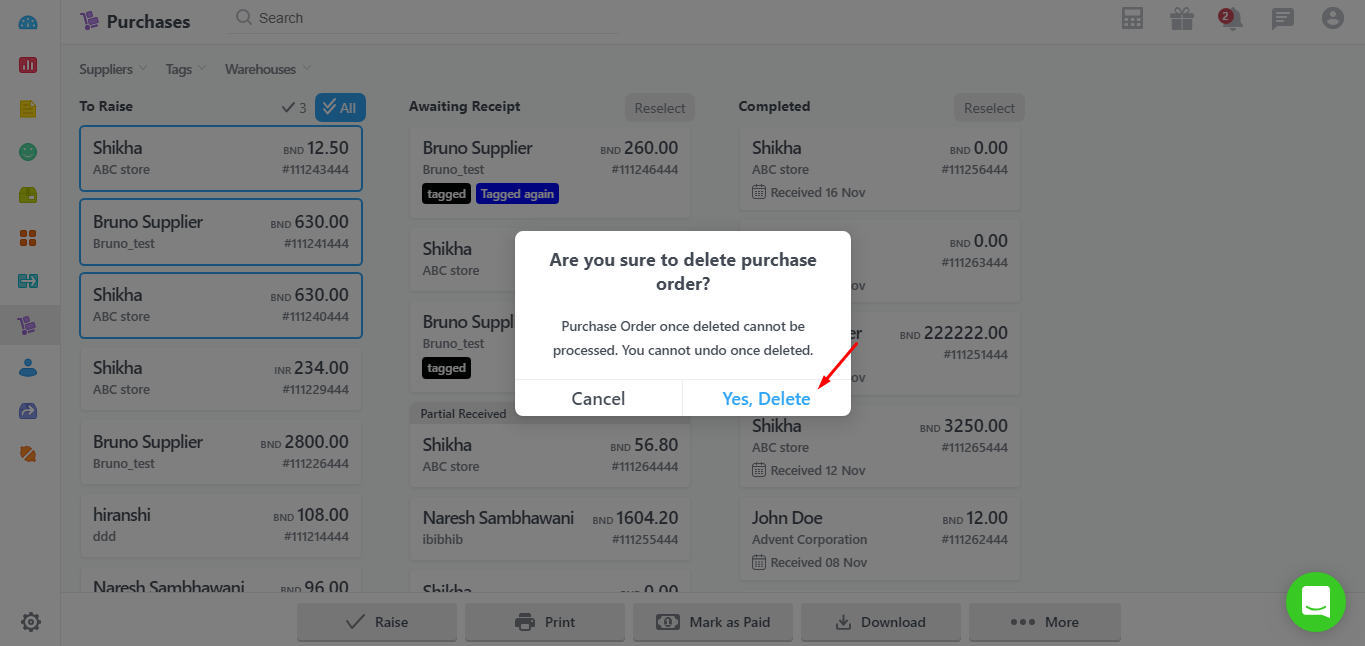
Note: This operation cannot be reversed. Once deleted, the POs cannot be brought back.
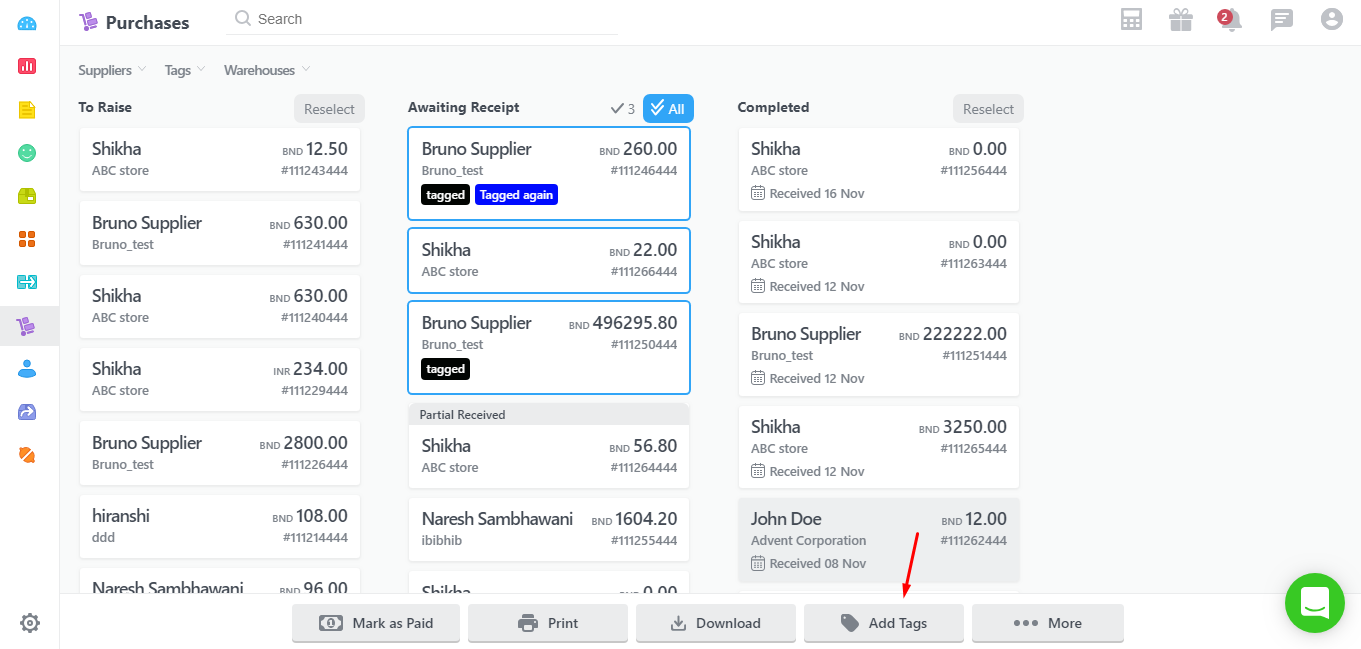
Add Tags:
- Tags can be added for reference purposes to the POs. There can be multiple tags attached to any PO. Select the orders and click on Add Tags.
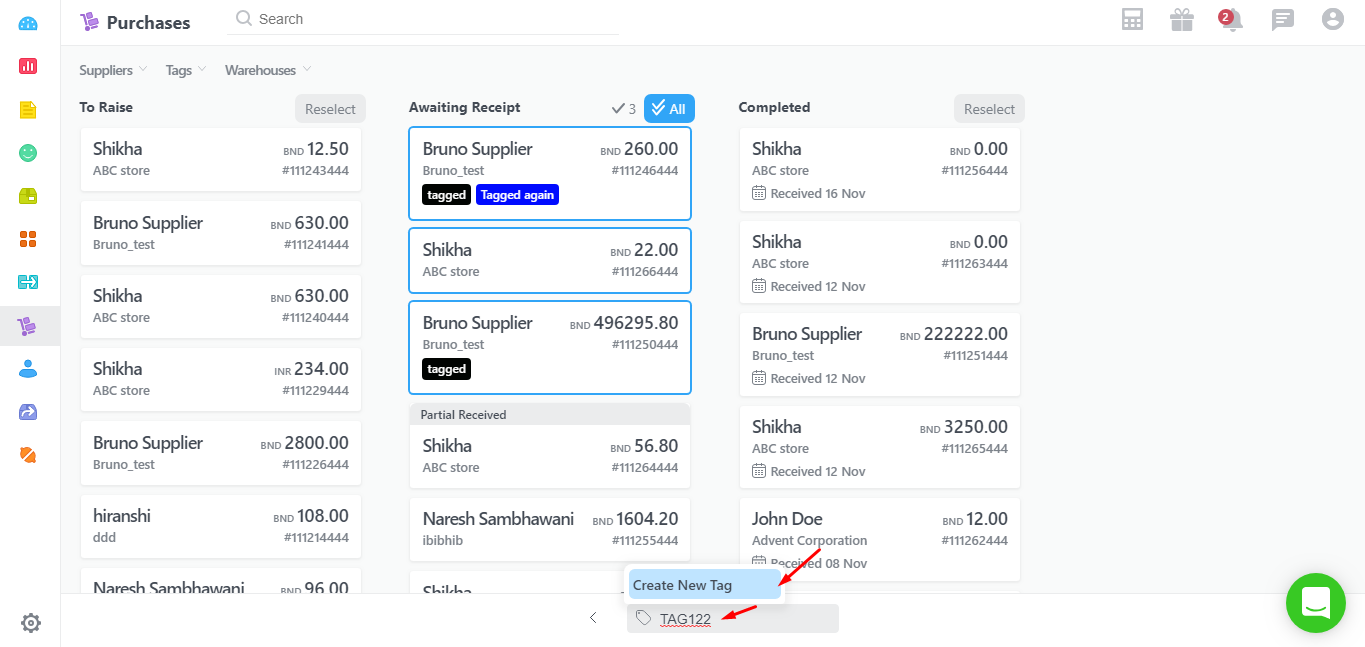
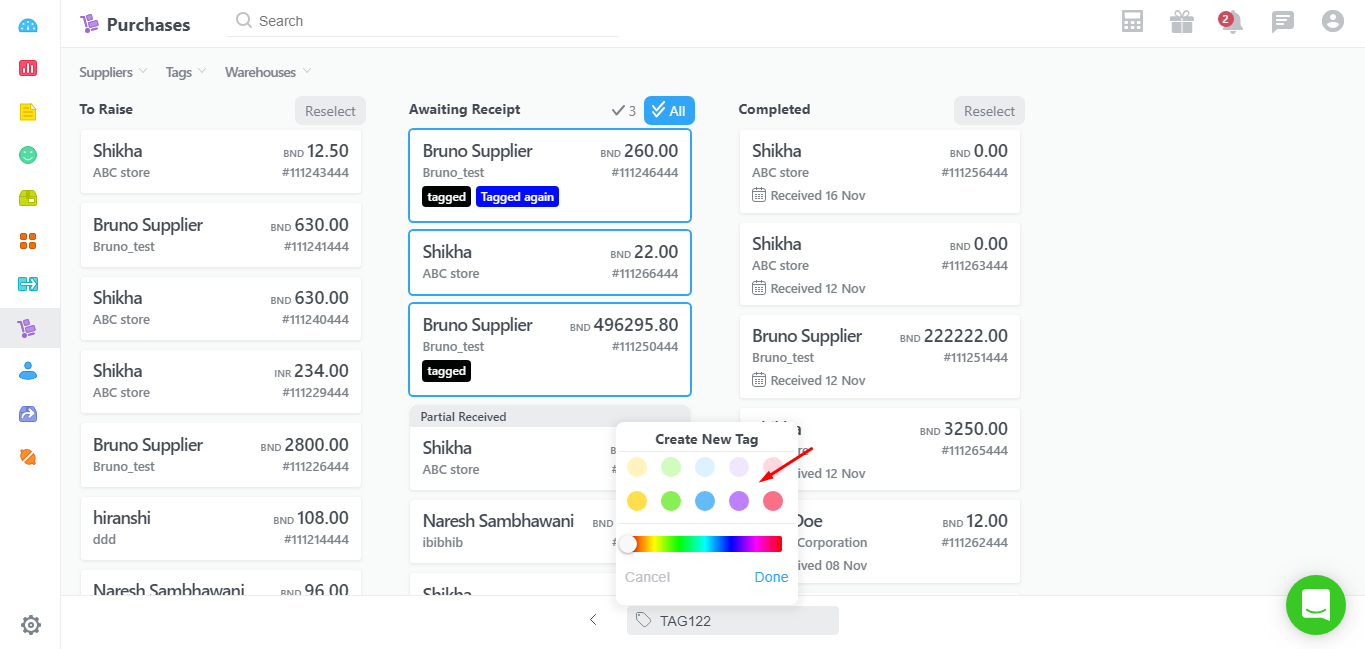
- It would then ask the tag that is to be added to each of the selected POs.Y ou can select any tag that has already been created or click on Create New Tag to create a new one. A color can be selected for each tag to distinguish them.
Not getting what you need? Contact us immediately.